- Products
- Automotive Tester
- Relay Tester
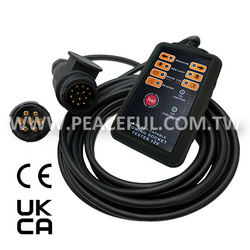
7612Relay Tester
Descriptions:
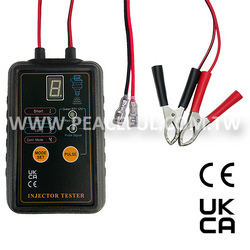
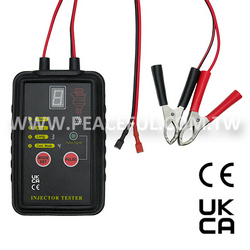
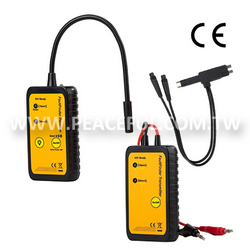
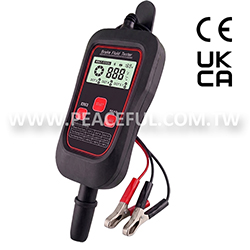
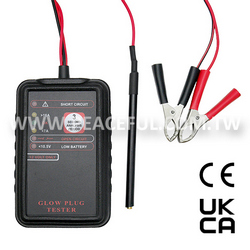
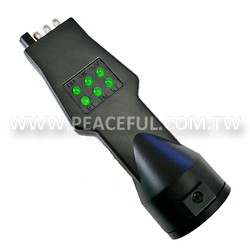
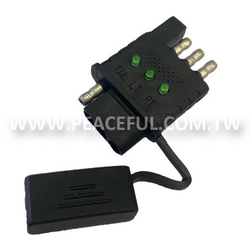
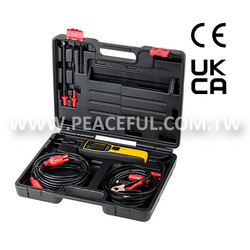
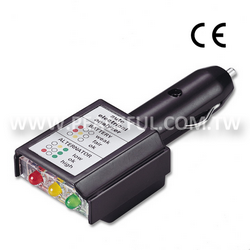
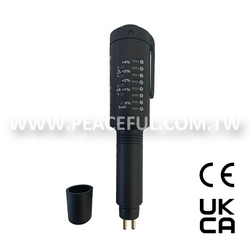
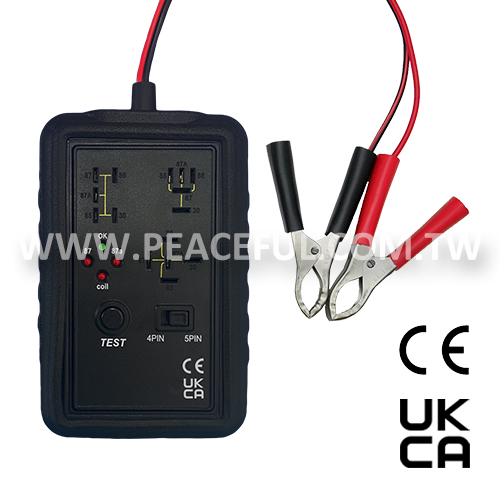
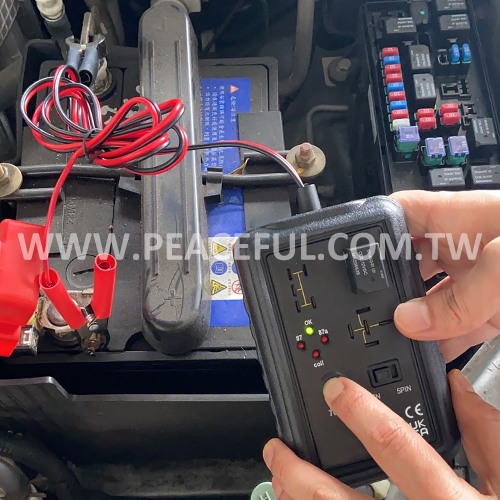
This is the device to test 3 popular vehicle relays. The testing result will be displayed by LED indication. Technician is able to use the device to figure out the condition of the relay, and so speculating the problem in the vehicle.
Features:
- With CE & UKCA Approvals.
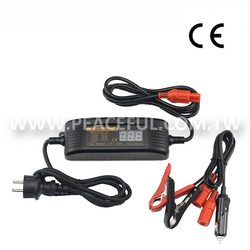
- Power Supplied: 12V / 24V vehicle battery
- Support for 12V / 24V vehicle relay ( 12V battery for 12V relay ; 24V battery for 24V relay )
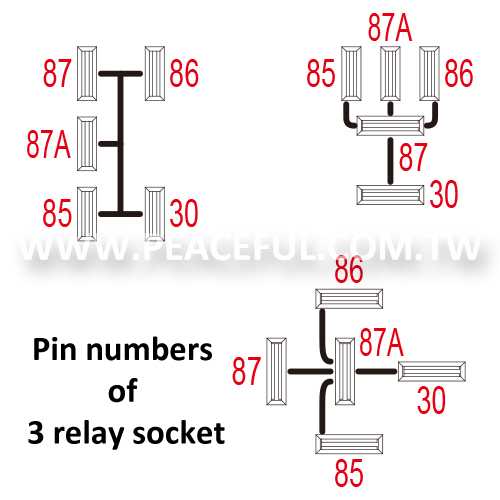
- Support both 4 pin / 5 pin relay.
- Problem pin indication.
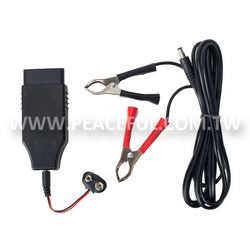
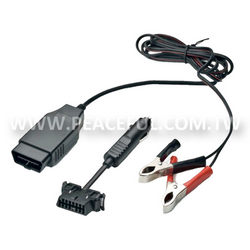
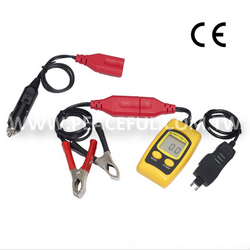
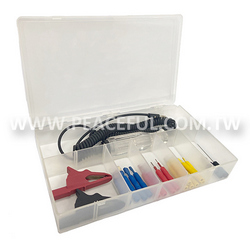
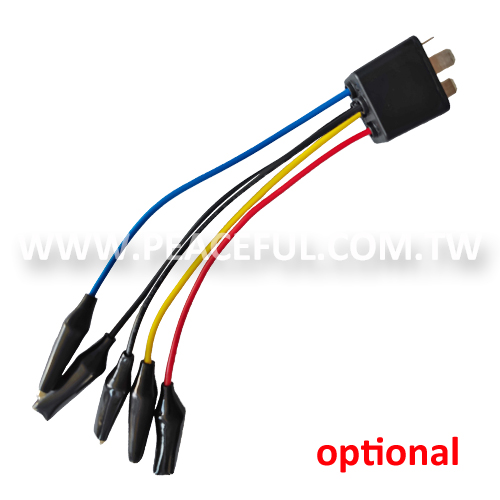
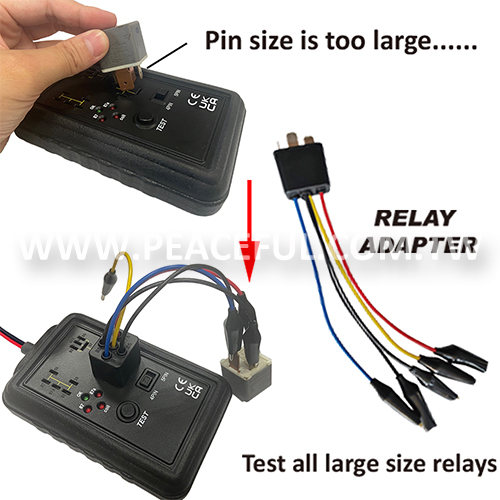
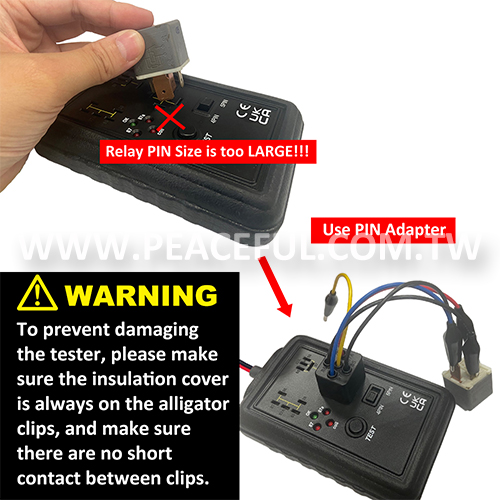
- If the pin size of the relay is too large, you can use the relay adapter(SS-3551) for testing.(optional)


Specifications:
| Working Temperature | ||
|---|---|---|
| 0 ~ 50°C ( 32 ~ 122°F ); < 85%RH | ||
| Storage Temperature | ||
| -20 ~ 60°C ( -4 ~ 140°F ); < 85%RH | ||
| Operation | ||
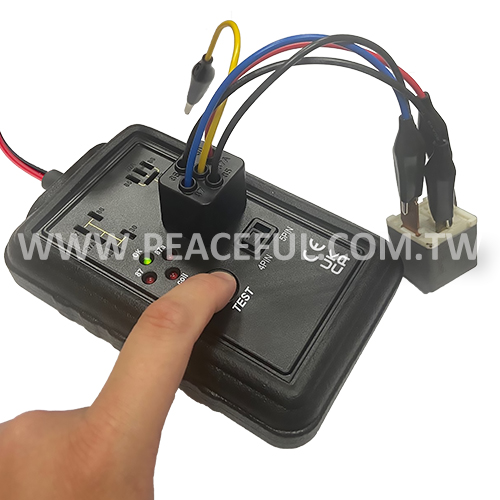
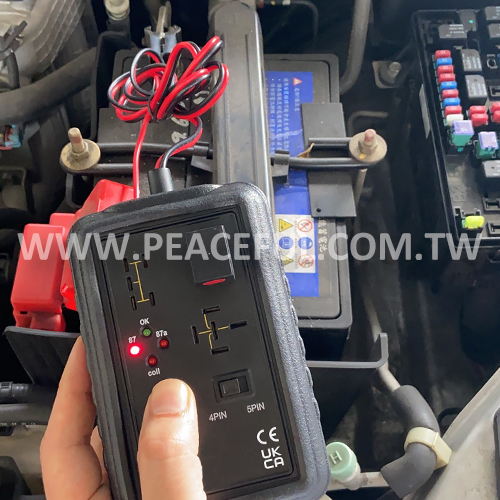
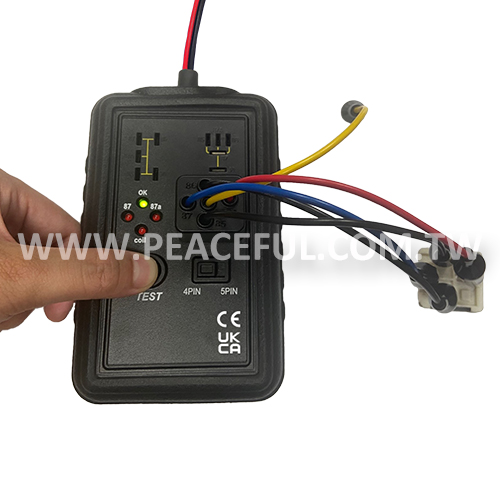
A. Relay Tester Base on the specification of the relay, user needs to select the correct relay pin type by switch the“4 pin / 5 pin switch” to its corresponding position, and connect the battery clips to 12V or 24V vehicle battery (12V battery for 12V relay; 24V battery for 24V relay). Install the relay into the relay socket, and press and hold the “Testing” button to start the test. The test result indication will keep flashing during the tester; do not release the testing button until the result has shown by the “Test result indication”. Possible result is as below: (1) If “OK” lights up, it means the relay is function correctly. (2) If “87”indication stays light, it means pin No. 87 is short circuit with other pins. If “87” indication is flashing, it means the connection of pin No. 87 is poor. This may be open loop or poor conductivity due to oxidization. For both conditions, user has to replace the relay and check the relative connectors; make sure the voltage passing through the pin is normal. (3) If “87a” indicationstays light, it means pin No. 87a is short circuit with other pins. If “87a” indication is flashing, it means the connection of pin No. 87a is poor. This may be open loop or poor conductivity due to oxidization. For both conditions, user has to replace the relay and check the relative connectors; make sure the voltage passing through the pin is normal. (4) If “coil” indication stays light, it means the coil within the relay is damaged. Please replace the relay, and check the specification of the relay; make sure the voltage meets the requirement of the vehicle. CAUTION: * To prevent damaging the relay and to obtain an accurate test result, please make sure the specified voltage of the relay has satisfied the vehicle battery connected with the tester. * Make sure the “4 pin / 5 pin switch”position meets the pin number of tested relay. * Do not press and hold the “TEST”button after the test result has appeared. |
||
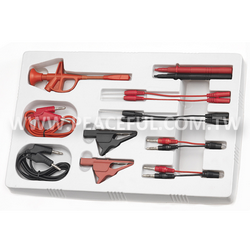
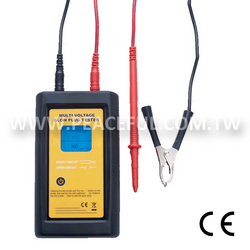
B. Relay Adapter 1. Plug the relay adapter into the relay tester. 2. Connecting the alligator clips of the adapter with the relay according to the pin number, and press the “TEST” button to start the test. CAUTION: * Make sure the pin number on the relay adapter and the connected relay are the same, otherwise the testing result will be incorrect. * In order to prevent short circuit between alligator clips, make sure the insulation jacket of the alligator clips has been pushed to the position where no conductor is under exposure. |
||